|
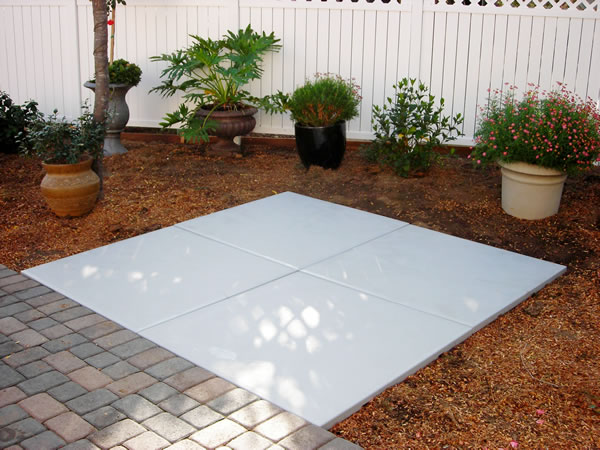
All that is necessary to install the EZ Pad is a level well-drained area. No concrete is required!
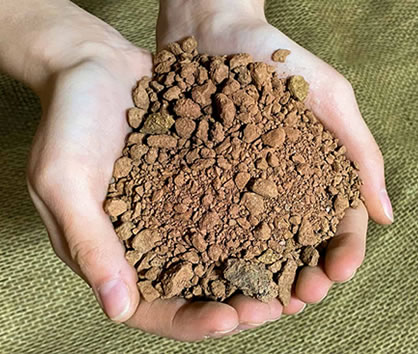
The material under the spa pad can be grass, dirt, sand, gravel, crushed rock or granite. Just about anything conveniently available that helps achieve a stable level bed for the pad.
And, because the EZ Pad is portable and movable it does not require a permit for placement.
You can also put them on a compacted material like decomposed granite, but it is not necessary.
*Swim Spas require different surface preparation. |
|
Tools Needed for Surface Preparation:
- Shovel
- Level
- 8' 2 x 4 for leveling
(Choose a straight one by looking along the length from one end).
|
1/4 to 3/4 inch crushed rock is the best choice for leveling. Decomposed granite or other compressible medium is also acceptable. |
Preparing the Surface
The EZ Pad modules can be placed on grass, dirt, or gravel, or any flat, level well supported surface. For best results, remove sod and prepare a level base. You may use any size crushed rock up to 3/4 inch or pea gravel for leveling. EZ Pads are 2 inches thick.
Flatness
Flatness is important, since EZ Pads are not absolutely rigid, and will conform to the underlying surface.
Levelness
The rule of thumb for levelness is 1" or less over 8'. An easy way to determine this is to purchase a straight 8' 2x4 (you can pick one out by looking down the length from the end, which will exaggerate any curvature), and if you don't have one, a bubble level. both can be had from your local home store for about $14.
Place the 2x4 on the location, and put the bubble level on the 2x4. If the bubble is not centered, raise the lower end until it is. If the end of the 2x4 is 1" or less from the surface, you are fine.
Levelness is primarily an aesthetic issue, because if the water line is not parallel to the edge of the hot tub, it looks wrong. The only time is presents a hazard to the hot tub is if either the jets are exposed which will mean water will be squirted out of the tub, or if the water intake is exposed, which will allow air to be pulled into the pump, which can damage it. However, it has to be really out of level for either of these things to happen.
|
|
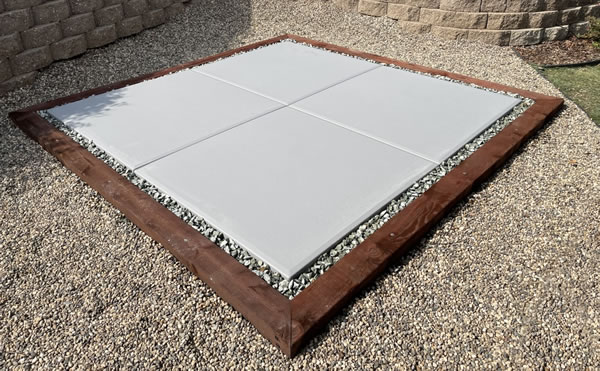
Building a Box Frame Can Correct Out-of-Level Conditions.
If your location is not level, and cannot be corrected by adding material, you can build a frame with pressure treated 2x4s or 4x4s.
Frames can be partially filled with crushed rock or pea gravel to create the required flat, level surface.
If you choose to use a frame, EZ Pads should not be put on top of or overlap a frame with fill because settling of fill can cause uneven support. . |
Decomposed granite or other compactable medium is best for surface preparation. |
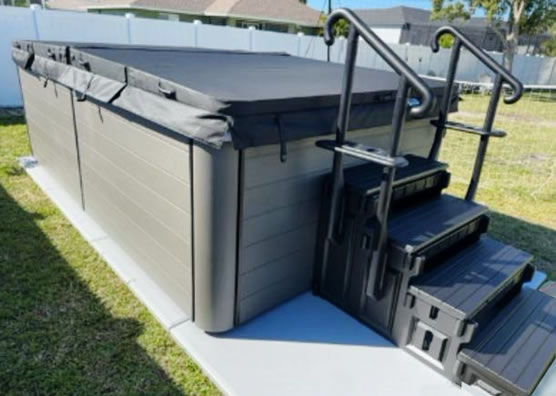
Preparing the Surface for Swim Spas
For swim spas, or any spa over 12 feet in length, we recommend 4 inches of compactable landscaping material like decomposed granite or crushed rock with fines, compacted to ensure reliable support for the higher loads.
EZ Pads can also be placed on pavers with 2" of sand, or 3+ inches of concrete.
 Be sure to use a hand compactor or powered soil compactor, available to rent at home stores, to ensure proper compaction. Be sure to use a hand compactor or powered soil compactor, available to rent at home stores, to ensure proper compaction.
For spas 12 feet and under, please use standard surface preparation. EZ Pads are 2 inches thick.
|
NOTE: To calculate the load per area of a swim spa, take the total weight and divide by the length times width.
For example: A typical swim spa weighs about 2900 lbs. If you add the weight of 2000 gallons of water, (2000 x 8.34) you get a total of 19,580, divided by the area of the base, or 128 square feet, you get about 153 lbs. per square foot. |
|
It is not necessary to build a box frame for your Swim Spa Foundation.
If your location is flat and level, no frame is needed. Simply prepare the surface with compacted medium and place the EZ Pads.
If you choose to use a frame to contain fill, ensure that the EZ Pad fits inside the frame.
|
|
EZ Pads are suitable for Garden Sheds.
The same surface preparation you would use for hot tubs works for garden sheds.
EZ Pads are not suitable for attaching gazebos. Gazebos need to be attached to hot tubs or put on separate footings.
Some customers have used earth anchors to prevent garden sheds from being affected by wind.
See: American Anchors
 |
|